Beginning this fall, you can print from a personal computer to a library printer without having to download any software or printer drivers! Below are step-by-step instructions. If you need assistance, ask for help at the library’s front desk.
1. Go to http://my.alfred.edu. On the left-hand menu, hover your mouse over “My Printing” and select “Status.”

2. Log into PaperCut using your Alfred University username and password. This is the same username and password that you use for AU email. Do NOT include @alfred.edu as part of your username.

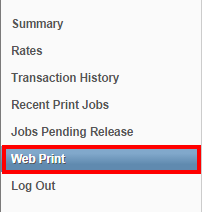
3. After logging in, select “Web Print” from the side menu.
4. Click the link “Submit a Job” to get started with choosing a document to print.

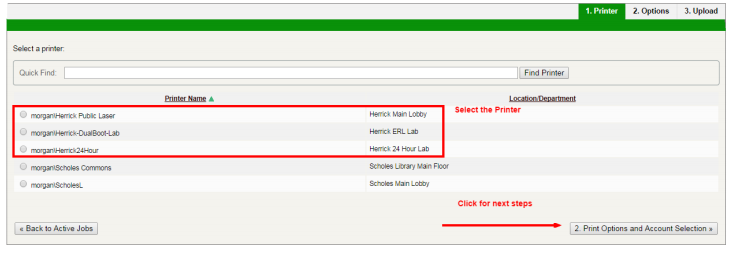
5. Select the printer you’d like to print to. The three printers highlighted in the image below are the printers available in Herrick. After selecting the printer, click the “Print Options and Account Selection” button to continue.
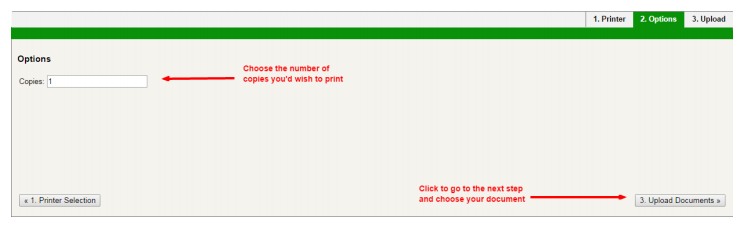
6. You will now be able to indicate the number of copies you’d like to print. Choose a number and place it in the box labeled “Copies.” Then click the button “Upload Documents.”
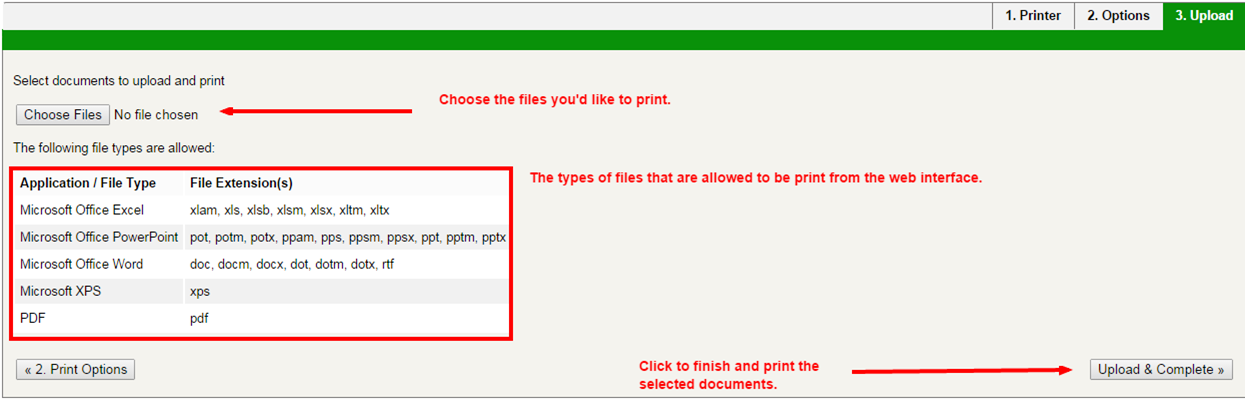
7. Select the file(s) you’d like to print by selecting the “Choose Files” button. This will open a dialog box where you can select your file(s). You can also see which file types are accepted for web printing. After selecting the files, click the “Upload & Complete “ button to start printing.
8. Your job should have been sent to the printer. PaperCut should display the status of your print job, as in the example below. Be patient for large files, which may take longer to print. To print another document, choose “Submit a Job” from this screen.

— Brett Arno and Ellen Bahr